Office 365 Planner – New feature
Hi guys, today I have tested for you one of the new O365 feature aka Planner.
What is Planner? Basically it is a new display for task management.
You can setup tasks in a group then separate it by different topics.
Microsoft said that Planner can be used to manage a marketing event, brainstorm new product ideas, track a school project, prepare for a customer visit, or just organize your team more effectively.
Introduction
Let’s log on O365 portal and click on Planner tile.

First thing you need to do is to create the hub (Keep in mind that creating a hub is the same as creating an Office 365 group. This is just a new feature linked to it)

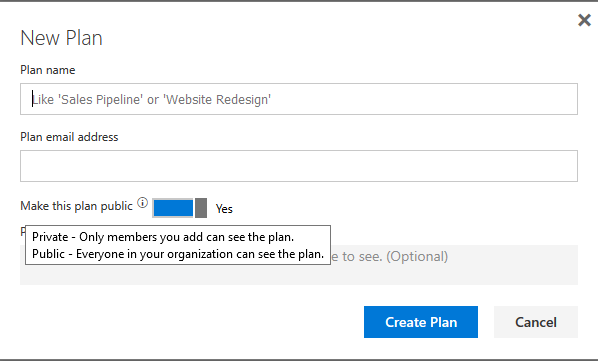
You can set it up as private so only admin will be able to invite new members or as public so everyone is welcome to join.
Quick overview

- The board is just the main page where you can see all main activities setup.
- Charts will have a more graphic view. This is more for reporting.
- Notebook will connect you to a notebook view of tasks already setup.
- These tree dots allow you to navigate to different pages from the same O365 groups.
- Add members allow you to manage permissions.
- To do is the first bucket you have on this hub. You can click on + to add more tasks on it.
- Add new bucket allow you create a new theme
- Group by allow you to display/order it differently.
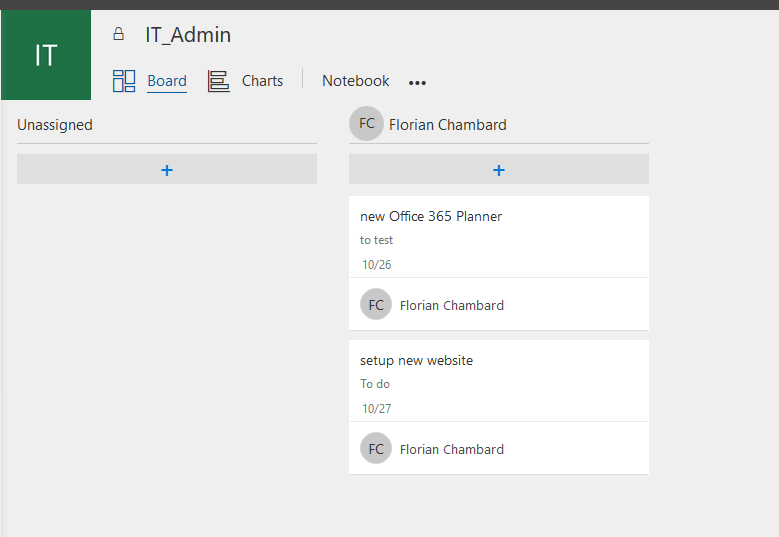
Oder by Asigned to
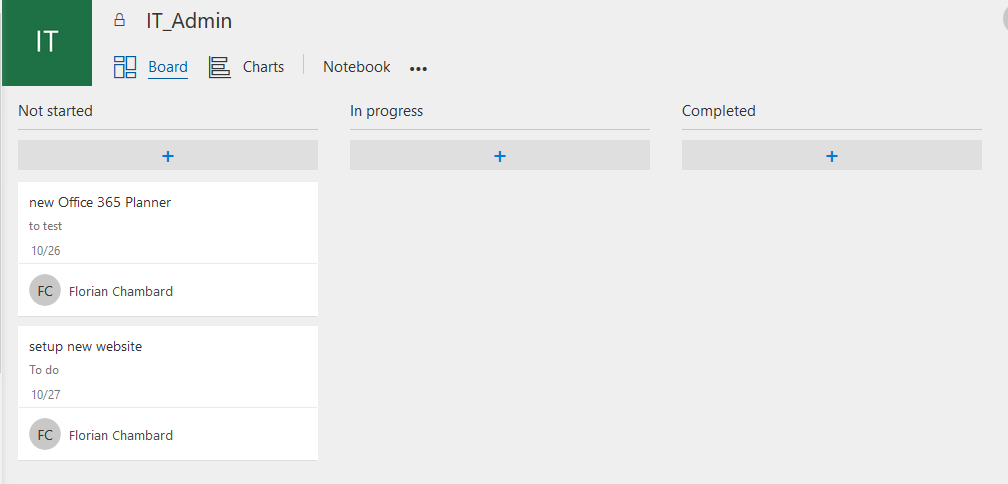
Order by Progress
Now when you have create your tasks you can customize it a bite such as giving it a category, adding notes, pictures, more links…

Now if you click on the charts view, you will have nothing to do!

All of this looks really cool!
Let me know your thoughts.
Cheers.
 Previous Post
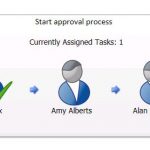 Next Post