How to deploy Office 365 on RDS Server
Hi guys, today I wanted to share some experiences on how to deploy the Office 365 Suite on a Windows Server 2012 r2.
Choosing the good plan
First thing you will need in order to achieve your goal is to make sure that your Office 365 license allows you to have Remote desktop (Software used as a shared environment). This is very important as I have failed many time to use Office 365 Business Premium and these licenses does not activate in a shared Desktop. You will need a license such as Enterprise or Pro Plus.
Now the tricky part with the Pro Plus plan is that it does not include Exchange Online and that’s shame as you probably want to use Outlook as a client to send email from your remote server.
Don’t worry this is still a good option as you can purchase this service separate and it is still cheaper (at least in Australia).
So yeah basically 2 options (I have ignored the E5 as it is over $47) :
- Office 365 E3 for $26.90/user/month (Include Outlook, Word, Excel,Powerpoint,Notes,Publisher,Access,Exchange Online,Skype,OneDrive,SharePoint,Yammer,Team…)
- Office 365 Pro Plus for $17.40 + Exchange Online separate for $5.10 which is a total of $22.5/user/month
The good thing with Office 365 is that you can get a trial version to test for a month and decide to subscribe later on.
Assign some of the licenses to current or new users (allow 10-15 minutes for mailbox and all others services to be created)
Downloading and Installing
Microsoft provide a great tool to deploy Office 365 on the remote desktop. This is called Office 2016 Deployment tool and you can download it from Microsoft website.
Once it is extracted, you will need to configure the xml file for download Office.
Download Office via the deployment tool
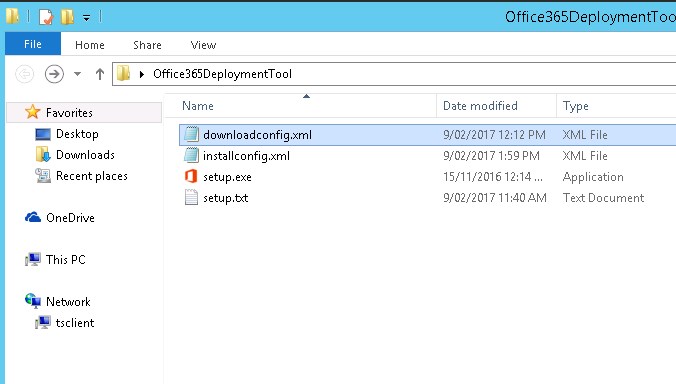
Here is how my downloadconfig.xml looks like
<Configuration>
<Add SourcePath=”C:\Office365Setup” OfficeClientEdition=”32″ Channel=”Current”>
<Product ID=”O365ProPlusRetail”>
<Language ID=”en-us” />
</Product>
</Add>
</Configuration>
I have created a folder called Office365Setup and choose 32 Edition.
The O365ProPlusRetail stand for Pro Plus, E3 and E5 Editions. For more details visit Microsoft here.
Once your XML is ready you will have to open a command line (with elevate privileges) and navigate to the folder where you have extracted your Office365 Deployment tool, then execute following command
setup.exe /download downloadconfig.xml
Run the Office installation via deployment tool
Now we need to create another XML file in the same folder and call it installconfig.xml.
<Configuration>
<Add SourcePath=”C:\Office365Setup” OfficeClientEdition=”32″>
<Product ID=”O365ProPlusRetail” >
<Language ID=”en-us” />
</Product>
</Add><Display Level=”None” AcceptEULA=”TRUE” />
<Property Name=”SharedComputerLicensing” Value=”1″ />
</Configuration>
The Display level will allow you to hide the Click to Run installation and AcceptEULA automatically validate license for you.
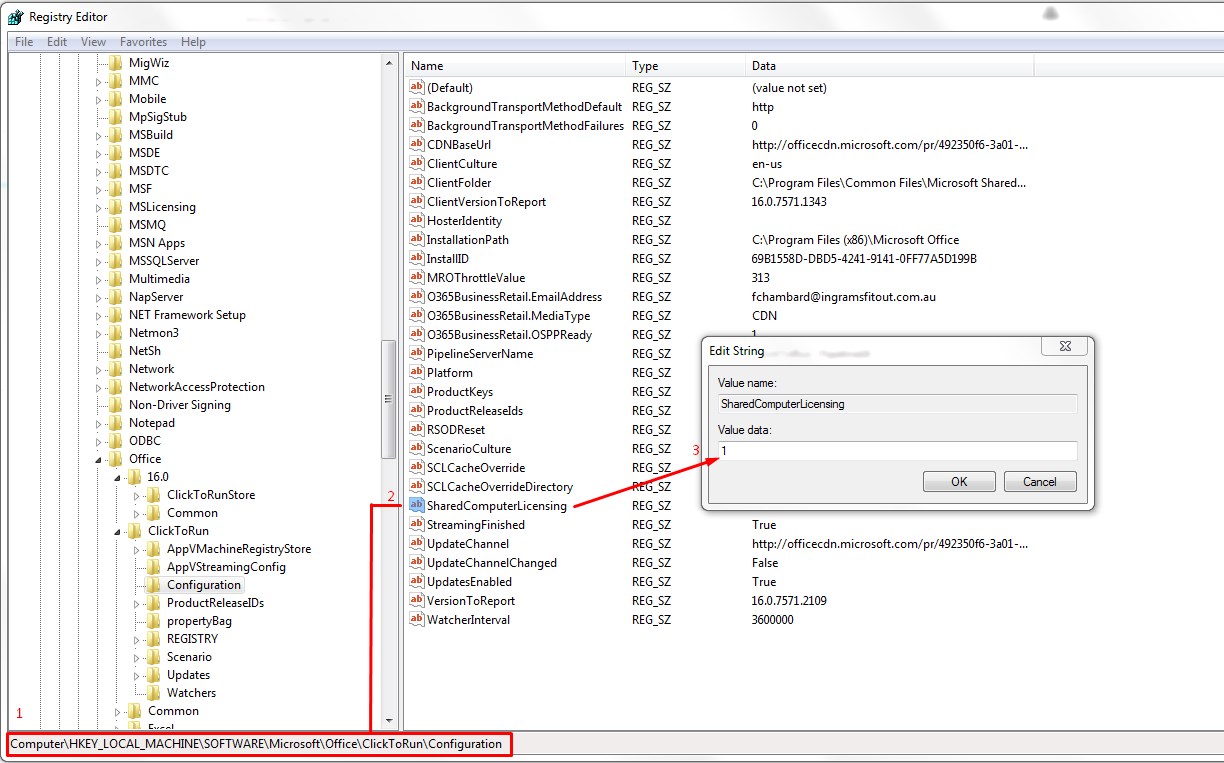
The last line is probably the most important, SharedComputerLicensing = 1 will allow you to use license on the Remote Desktop environment.
Without it, you will basically see errors related to volume licensing.

Wait until you get the command line prompt back and open Excel.
Alternatively, you also have the option to modify the registry (see below)
Activate it
Use one of your Office 365 user with proper licensing.
Outlook should also be straight forward if you have an Exchange Online plan.
 Previous Post