Azure Backup Server
One of the first things I did on Azure was to install a backup server and that’s something quite straight forward and does not necessary to have programming skills.
Let’s get have a look first at requirements.
In order to install the backup server we will have to install the SDK just to be able to create a proper certificate which will allow us to communicate between the Windows Server and the Azure platform.
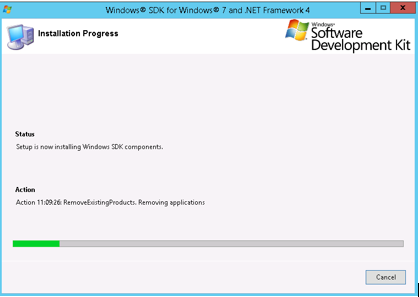
Install SDK on the server
Please download the iso version (GRMSDKX_EN_DVD.iso for x64 version) to get the certificate creating tools.
Run the installation as below
Create a certificate
Open a command line as Administrator and navigate into the Microsoft SDK Path.
Makecert is installed in Bin folder.
Use following command to create a self-signed certificate:
makecert.exe -r -pe -n CN=<Computer Name> -ss my -sr localmachine -eku 1.3.6.1.5.5.7.3.2 -len 2048 -e <expirationDate> <NameOfyourCertificate.cer>

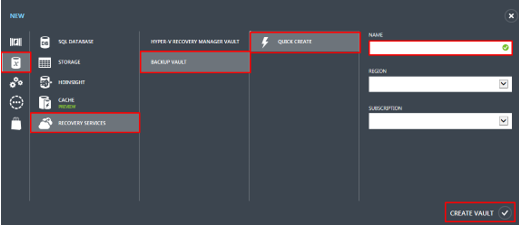
Create a Backup Vault
Go on your portal, then click add>Recovery Service>Backup Vault>Quick Create
When your backup has been finished go to section recovery services.
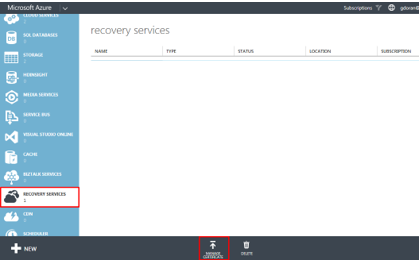
Click on Manage certificate.
Upload your Certificate
In the Manage Certificate dialog click Browse Your Computer to locate the .cer file to use with this backup vault.
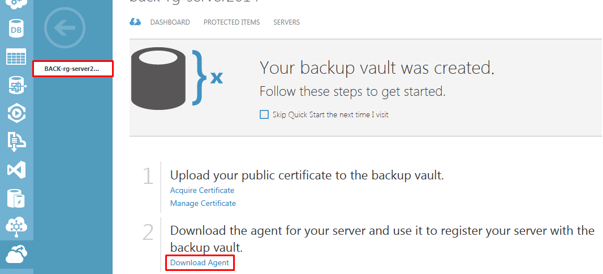
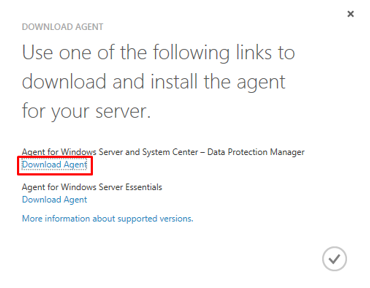
Download and install a backup agent from VM
On the VM machine —
Click Recovery Services, and then click the name of backup vault to view the vault dashboard.
Click Download Agent.
Click on Download Agent for Windows Server.
Run it as Administrator.
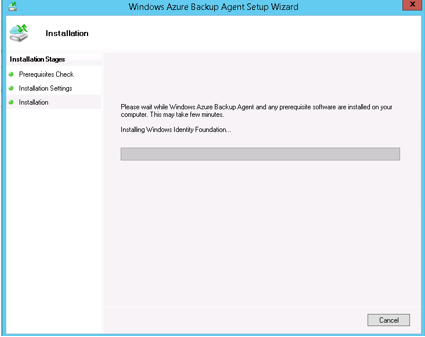
(In my case it will install Windows Identity foundation)
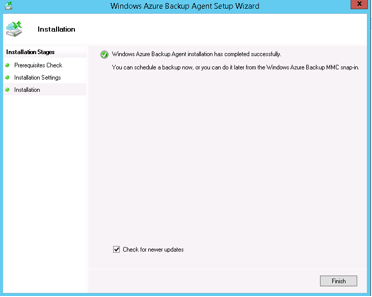
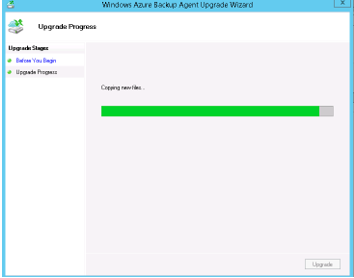
Install Updates.
You might have to restart your server.
Setup the Windows Azure Backup
Click on the new icon created for you, then click on register your server.
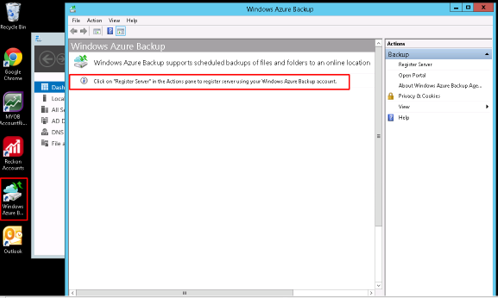

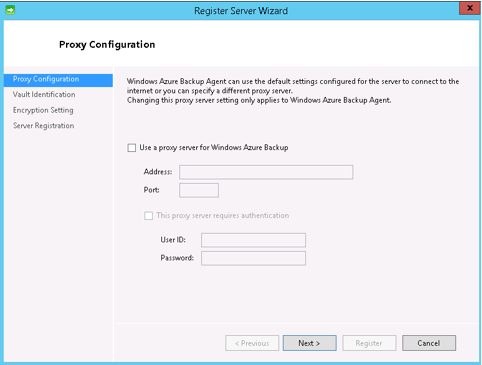
In our case we do not use proxy so nothing is necessary here.
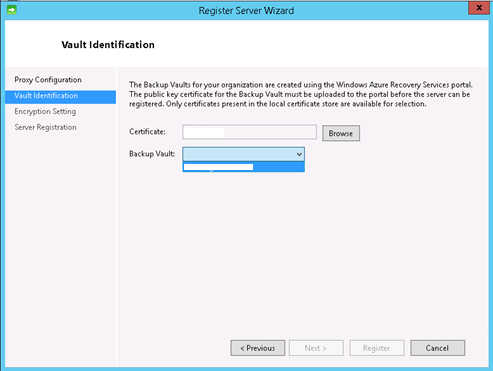
Use your certificate here.
Type a secure passphrase.
At the end of the process it will generate you a txt file for your passphrase.
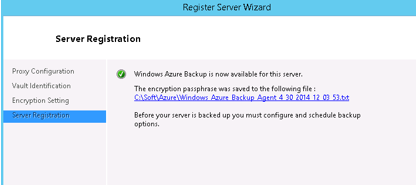
When all is done you will be able to configure backups.
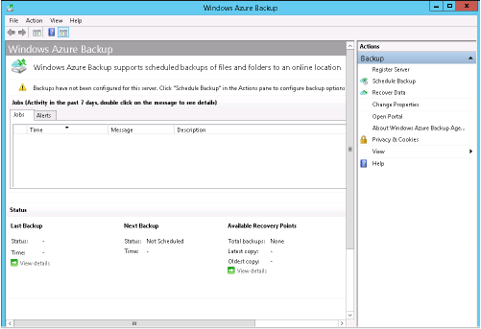
Configure your backup
Click on Schedule Backup.
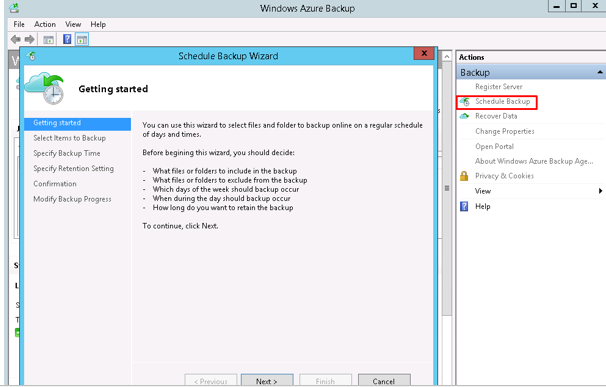
Setup schedule time the way you want your backup to save your server and choose a retention period.
When it is finish you should see something like that.
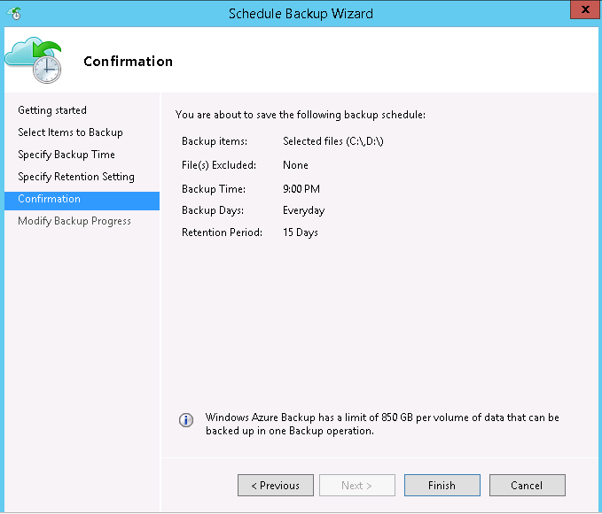
Your backup is now setup.
Now if you wish to restore this is really easy to do. Just click on Recover Data on Browse or search your files then select the date you want to recover from.
I really fund Azure backup easy to use and really quick to restore. Let me know what are your thoughts as comments.
Thank you and see you next time 😉
 Previous Post
 Next Post